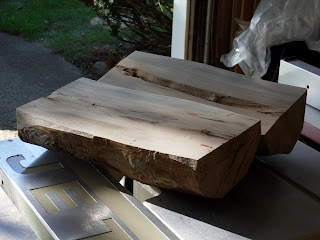
27 years... It was 27 years ago I saw some classmates playing with a wooden marble run game during an indoor recess. It was the most sought after toy during these rare rainy days that left us confined to our classroom. I was always too late to the game box and only once did I get a chance to interact with a few of the pieces. But I was drawn in and have thought about that game ever since. Then it dawned on me. I have a woodshop. I have several poplar boards just sitting around. Let's do this!
I went ahead and decided to make (3) sets. One for my nephews and two for my kids. Who am I kidding two of them would be for me, but I'd share. I did some math comparing marble sizes www.landofmarbles.com, looked at the thickness of the poplar wood (3/4"), and determined the best width to maximize my boards. In the end I kept all lengths in 1-1/2" increments. The trick is to remember to account for sanding. I cut many linear feet of 1-1/2" x 3/4" pieces on my table saw that day without knowing how many pieces I would end up with. When you are about to embark on a mission of cutting and sanding a lot of pieces, ignorance is preferred.
I purchased a 3/4" core box router bit for the trough of the straight-a-ways and used a 3/4" fornster bit for the holes. The cube transition blocks are just (2) 3/4" pieces glued together. I did a little trial and error on these cubes. Where the marble enters the cube I kept the hole centered. I did the same for the exit but sometimes the marble would get stuck. So I ended up creating a jig to hold the cubes at a slight angle under the drill press so even if the marble didn't "kick" out it would roll out plenty quick enough with the help of gravity. Hindsight I would have drilled both holes at an angle so the marble could enter/exit either hole.
I had a blast picking out the marbles for everyone. I made sure that each person got the same quantity/color/etc. It was easy for me to get carried away on the website though since they were about $0.15 per marble. I won't tell you the obscene amount of money I ended up dropping on them.
While playing with and sorting the marbles I had a lot of memories resurface of when I was in grade school and had this red and blue leather marble bag adorned with native american bead work around the outside. I remember the cotton draw strings that closed the top of the bag up and had round bells at their ends, most likely as a security measure to make sure no one would steal my marbles. I haven't seen that marble bag for 15+ years but still think about it even today.
To finish the project I bought some cheap photo memory boxes from a local hobby store and placed the marbles in a zip lock bag.
.JPG)
.JPG)
.JPG)
.JPG)
.JPG)
.JPG)
.JPG)


