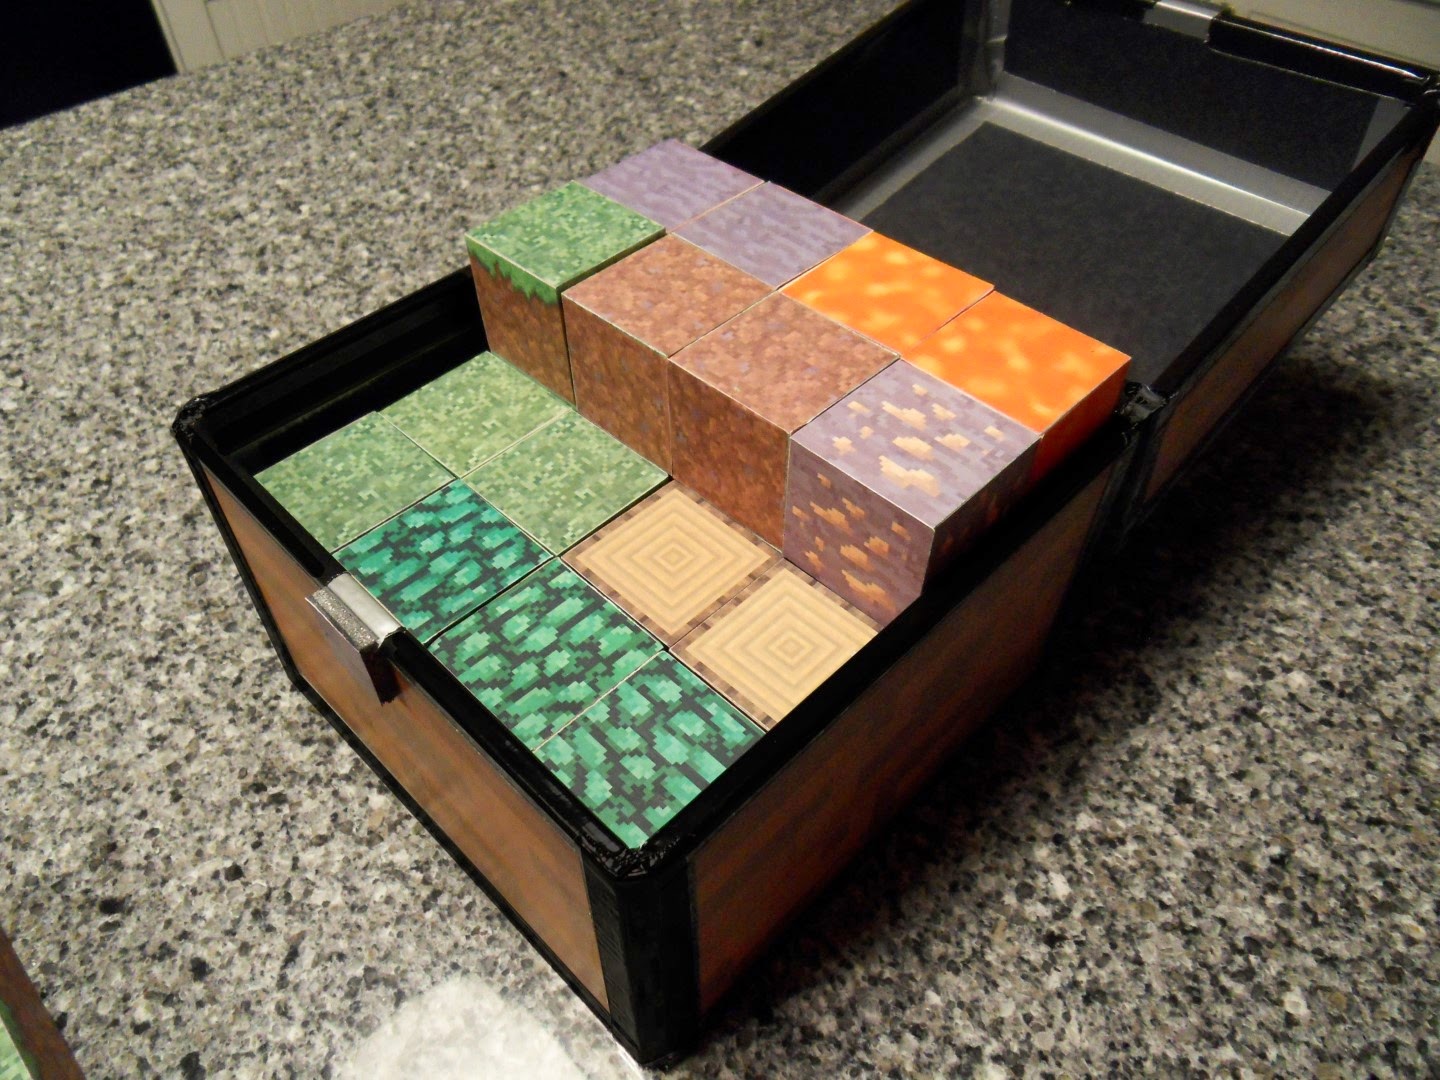
With some birthdays coming up in the family I thought I'd take the opportunity to test out an idea I had for a home-made gift. A set of physical home-made blocks modeled after the video game Minecraft .
.
My total numbers for the 48 blocks:
11 Grass
9 Oak Leaves
6 Oak Trees
6 Dirt
6 Stone
6 Lava
2 Iron Ore
1 Diamond
1 TNT
I should also speak briefly about where the images came from. I decided to use the 'Faithful' texture pack. To keep the pixels fresh and crispy while digitally enlarging them to fit a 1.5" cube I created an action in Photoshop. The key piece to this exercise is to use Photoshop's "Image Size" tool and at the bottom of that window where it says "Resample Image:" choose the drop down setting "Nearest Neighbor (preserve hard edges)". Sweet pixel magic!
Now for the not so fun part of this exercise, the work.
I wanted to make a few sets for various family members so I figured I'd make them all at once... 192 blocks. You can buy wooden cubes
After the dust settled I saw a stack of cubes and started to contemplate if I bit off more than I could chew. I would put this question to the test as now the 192 cubes turned into 1152 sides.
1152:
Faces I had to sand
Printed squares I had to cut out
Squares I had to glue to the cubes
Sides I coated to protect the faces
To glue the squares on I used Mod Podge
To coat the cubes I used a Gel Medium
When I was done I had 4 coats of Gel Medium on the cubes. I focused on putting more gel on the edges to help prevent the edges of the paper from peeling up.
The next step was to knock out a chest to store the 48 pieces. I made this chest out of gatorboard and adhered the image to it in a similar fashion as the cubes. The joints are made from black duct tape
Now on to the final product!!!


Very talented!
ReplyDeleteThis comment has been removed by a blog administrator.
ReplyDeleteI would love to make these for my sons. How would I get the files for the pictures on the blocks?
ReplyDeleteAmber - There are a few ways to get the Minecraft images.
Delete1. If you have the game installed on your computer you can find the folder that has all of the images.
C:\Users\"username"\AppData\Roaming\.minecraft\resourcepacks
2. You can go onto some minecraft mod pages and download packages (these will be different than the standard game)
3. I can share some of my print files if you can share an email address. Mine are from the "Faithful" resource pack which took the original graphics and made them a little higher resolution.
Once you get the images you need to arrange them onto a sheet so you can cut them all out (i prefer straight edge and exacto).
Good luck to you!
This comment has been removed by a blog administrator.
ReplyDeleteThis comment has been removed by a blog administrator.
ReplyDelete