Site
Now that I had a majority of the project planned I was focused on getting out to the site and breaking ground. I had my mum call ahead to the utility company to come out and check for any buried utilities. After unloading my tools (see list at bottom of post) I walked the site to look for any utilities that would give us a fit. While walking out there I found a series of white lines, some solid and some dashed. I saw a couple come from the garage where I knew there would be power but they seemed to miss our area as I had hoped. |
| That is one big chicken! |
Phase 1 - Foundation
I chose to start work on the foundation a week prior to my vacation so the concrete would have plenty of time to setup and cure. I had half a day to locate, mark, dig, pour and set the anchor bolts. Luckily I had a lot of help! I began by putting in a few stakes and running some mason line in between. We discussed distance from front of garage to front of shed, access to the back door of the garage and looked at mower deck width to make sure it would be easy to mow in between the structures.
 |
| Locating the piers |
Once I had the general outline I ran some diagonals to square up the shape. Then I placed the remaining strings that would locate the 9 piers. I snapped on a few line levelers to the mason line to see where the highs and lows were on the site. I took a few elevation dimensions and grabbed for my orange marking spray paint. I sprayed an over-sized 'X' at each intersection and temporarily removed all of the string.

While the majority of the piers were going to be 9 1/2"+ in diameter I thought I would clean up the profile as it exited the earth by using 18" long 8" sonotubes that I had cut earlier. Then I started to dig to see what sort of soil we would find. It all began soft and sandy but eventually turned to clayey gravel between 36-42" down. It was less in some other spots as Sue and my wife Lauren would eventually find (see photo below as they wage war on hard clay and gravel starting only a couple feet down.) There was only one hole where we couldn't go the full 42" down no matter what we tried.
 |
| Digging Crew (me, Sue, Lauren) |
 |
| Mixing concrete |

It was now the first of September and I was taking 9 consecutive days to do some serious work out on the farm. I was excited because now it's time to put digging and concrete work behind me and start working with the lumber. Rough carpentry moves so quickly and I always enjoy the sensation of making a lot of progress in a short amount of time. I broke out the tools and braved the near 100 degree heat-wave. To help shade the sun I brought along my cowboy hat, that's when things started to get real!

Phase 2 - Primary Framing

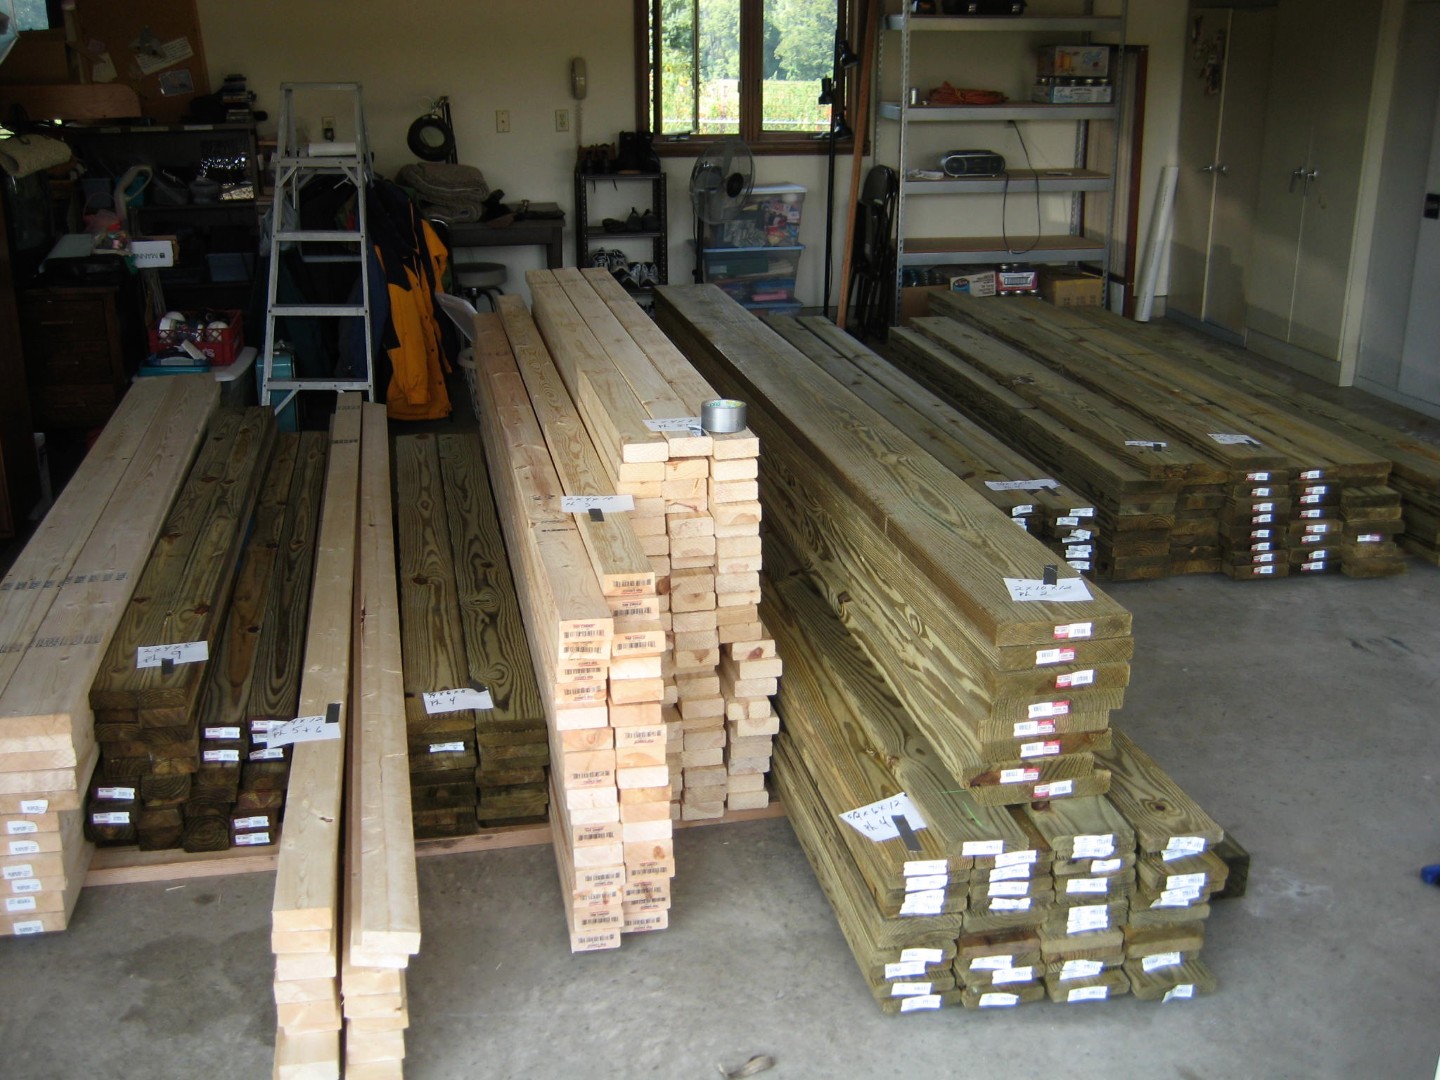
As I mentioned before I was majorly impressed when I heard my mum and Sue had picked up all of the lumber and brought it back to the garage but when I opened the garage to see they organized it based on what phase it would be use... well that was something else!

I started by bolting down the Simpson standoff bases to the piers and securing the 4x4 and 4x6 posts to them accordingly. Once they were cut to size I had Sue assist me in installing some of the 2x10's that would carry the weight of the building back to the piers. My primary objective here was to keep the top of every 2x10 perfectly level with one another. I forget if I had 4 or 5 levels on hand at all time but if something would have been off I knew it would come back later to haunt me.

Phase 3 - Secondary Structure
Once the 2x10's were bolted in place I ran 2x8's perpendicular across the top as my floor joists, added bridging (to prevent the floor from racking) and 'hurricane straps' to help tie everything together securely.


Phase 4 - Flooring
At this time my mum came out to check on the progress and volunteered to install the wood decking across the entire shed! I was happy to let her take on the challenge.


I started by bolting down the Simpson standoff bases to the piers and securing the 4x4 and 4x6 posts to them accordingly. Once they were cut to size I had Sue assist me in installing some of the 2x10's that would carry the weight of the building back to the piers. My primary objective here was to keep the top of every 2x10 perfectly level with one another. I forget if I had 4 or 5 levels on hand at all time but if something would have been off I knew it would come back later to haunt me.

Once the 2x10's were bolted in place I ran 2x8's perpendicular across the top as my floor joists, added bridging (to prevent the floor from racking) and 'hurricane straps' to help tie everything together securely.


Phase 4 - Flooring
At this time my mum came out to check on the progress and volunteered to install the wood decking across the entire shed! I was happy to let her take on the challenge.


I knew the week would run smoothly since I had a great support team. Sue would become quite handy with the power tools and the hammer, my mum an expert with the power drill and hammer, Lauren was a Jill of all trades when she wasn't watching over little Norah, and of course Norah who acted as supervisor through out the project making sure everything was per code and her approval.
 |
| Norah plumbing up a joist. |
 |
| Lauren nearby with a loaded tool belt. |
 |
| Norah and her 'Nooka' taking a break. |
I feel pretty good for the progress we made in under 2 full days. In the image below I am joking about stopping construction early and just turning the deck into an outdoor movie theater / party deck. The idea was voted down.

| Tools Since I live over an hour and half away I wanted to make sure I brought everything I needed on the first trip. This was my list. Clamps - (6) 2" |
| Clamps - (6) quick grip |
| Drill - electric |
| Drill - battery |
| Drill - bits |
| Drill - drivers |
| Flashlight |
| Hammer - graphite |
| Hammer - wood - small ball-peen |
| Hammer - wood - medium ball-peen |
| Masks - 3 sets |
| Pens / Markers |
| Pliers - variety |
| Rope - 50' +- |
| Safety Glasses - 2 pair |
| Saw - box |
| Saw - compound miter |
| Saw - circular - battery |
| Saw - circular - electric |
| Saw - back-saw |
| Saw - reciprocating |
| Saw - sawzall - battery |
| Socket set |
| Straight edge - 36" |
| Straight edge - 48" |
| String |
| Square - large |
| Square - quick |
| Square - T-square |
| Tape Measure - 12' |
| Tape Measure - 25' |
| Wrench |
Cutest cowboy-builder ever :)
ReplyDelete100+ degrees outside when you built the first shed, & ditto on the heat wave with this one. I detect a trend?
ReplyDelete